Workday is a user-friendly, cloud-based software designed to simplify workforce management, including updating your payroll settings. How to change direct deposit on Workday, you ask? Well, changing your direct deposit information on Workday does not have to be a daunting task.
If you are ready to update your direct deposit details, follow these six simple steps to get it done quickly and efficiently.

FrontStory / By following a few simple steps, you can seamlessly change your direct deposit on the cloud-based software, Workday.
How to Change Direct Deposit on Workday?
To begin the process of changing your direct deposit on Workday, you first need to log into your Workday account. Use your company’s Workday portal, enter your username and password, and click on the sign-in button. This will take you to your Workday home page, where you can access all your personal and employment information.
However, navigating Workday's interface is straightforward. Once you are logged in, you will find various icons and options on your dashboard. Look for the section that handles payroll and benefits.
Access the Pay Application
Next, locate the Pay application on your Workday dashboard. The Pay application is your go-to place for anything related to your compensation, including direct deposit details. Click on the Pay icon to open the pay-related options.
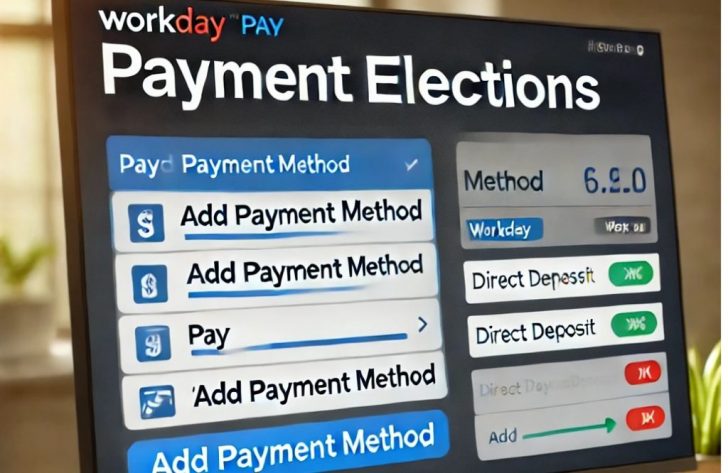
Within the Pay application, you will see several options such as Payslips, Tax Documents, and Payment Elections. The Payment Elections section is where you will update your direct deposit information. Click on Payment Elections to proceed.
Review Current Payment Elections
Once you are in the Payment Elections section, you will see a summary of your current direct deposit settings. This summary includes information about the accounts where your salary is currently deposited. Review this information carefully to ensure you understand the current setup before making any changes.

Finance Hub / Before changing your direct deposit, make sure to carefully review your current payment elections.
Understanding your current setup helps avoid mistakes when entering new details. If everything looks correct and you are ready to proceed, you can move on to the next step. If you spot any errors, make a note of them so you can address them later.
Add a New Account
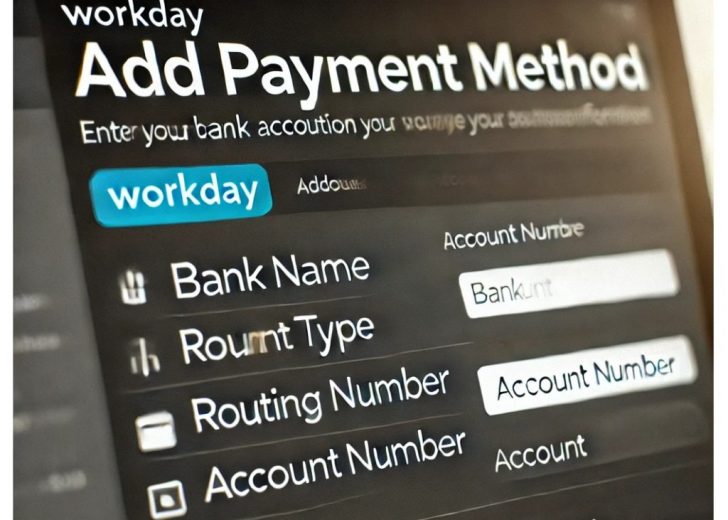
To add a new account for your direct deposit, click on the "Add" button in the Payment Elections section. This will open a form where you can enter your new bank account information. You will need details such as the bank name, account number, and routing number.
Ensure you enter the correct information. Double-check your bank details before submitting to avoid any delays or issues with your salary being deposited into the wrong account.
Update Your Payment Elections
After adding your new account information, the next step is to update your payment elections. This involves specifying how much of your paycheck you want to go into the new account.

FrontStory / On Workday, you can choose to deposit your entire paycheck into one account or split it between multiple accounts.
For example, you might want a portion of your paycheck to go into a savings account and the remainder into a checking account. Make your selections carefully and ensure they reflect your desired allocation. Confirm the changes by clicking the submit button.
Confirm and Save Changes
Finally, review all the changes you have made. Check the new direct deposit settings to ensure everything is correct. Once you are satisfied, click on the save or submit button to finalize your changes.
Workday will typically send a confirmation email or notification once the changes are processed. Keep an eye on your email for this confirmation to ensure your new direct deposit information has been successfully updated. So, when you know how to change direct deposit on Workday, you can seamlessly do it in just a few seconds.

